In VPCart 9.0, we have added new feature
“CDN”.
If you want to speed up your VPCart store, you can use this
CDN feature. Please read the details below about CDN.
What is a
CDN?
CDN is short for content delivery network. A content
delivery network (CDN) is a system of distributed servers (network) that deliver
pages and other Web content to a user, based on the geographic locations of the
user, the origin of the webpage and the content delivery server.
This service is effective in speeding the delivery of content
of websites with high traffic and websites that have global reach. The closer
the CDN server is to the user geographically, the faster the content will be
delivered to the user. CDNs also provide protection from large surges in
traffic.
CDN enables VPCart stores to quickly deliver content such as
images and other files, regardless of the bandwidth or the user's location.
Without CDNs, the loading times for VPCart stores would be a considerably longer
for users hundreds or thousands of miles away from the host servers (such as
international customers for US-based stores).
Why so important to
setup CDN?
With CDN setup, your site speed and performance will be
greatly boosted as contents, such as pictures, movies, JavaScript files, CSS
files are delivered from different subdomains.
How to use this
feature
You will need to setup sub domain(s) and virtual directories
before you can start to use this feature from your Windows hosting panel
(Plesk).
Please follow the steps below on how to setup CDN in your Plesk
panel:
1) Login to your Plesk hosting panel.
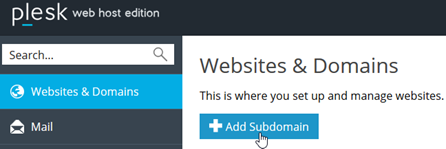
2) In the “Websites &
Domains” locate the button “Add Subdomain”.
3) Enter the
following:
Subdomain name: content
Document root: Enter
the folder “cdndomain” location of your VPCart 9.0 site.
For example,
If
your VPCart 9.0 site files are located in httpdocs/ then you should enter with
eg httpdocs/cdndomain
If your VPCart 9.0 site files are located in
httpdocs/v9/ then you should enter with eg httpdocs/v9/cdndomain
If your
VPCart 9.0 site files are located in httpdocs/shopping then you should enter
with eg httpdocs/shopping/cdndomain
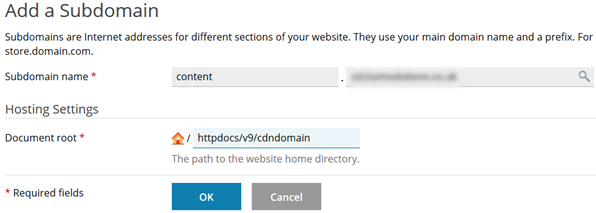
4) Click OK button.
5)
Your new sub domain “content” should be created now.
We will now
create another new sub domain called “images”.
Please repeat step 2 to
step 4 to create the new sub domain “images”.

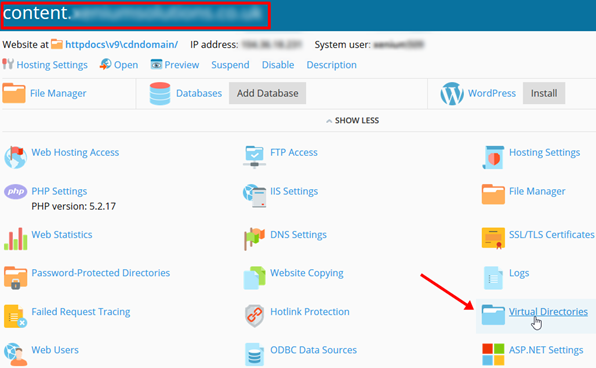
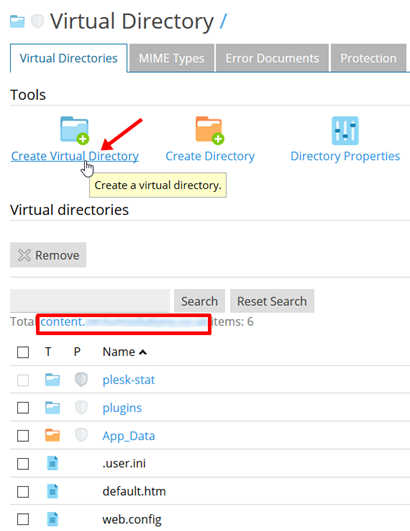
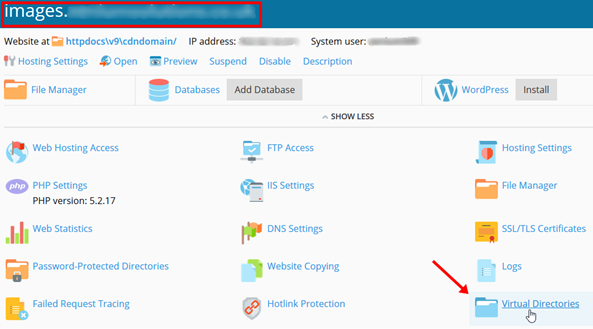
6) Once the sub domain
“content” and “images” has been created, at the “Websites &
Domains” locate the sub domain “content” and click the “Virtual
Directories”.
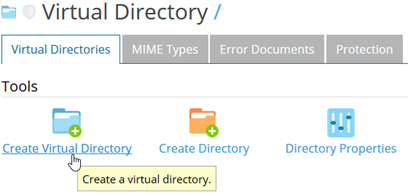
7) Click “Create Virtual
Directory”.
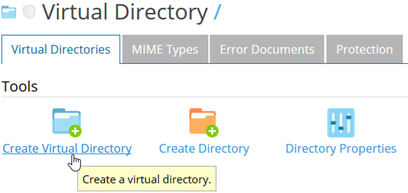
8) Enter the following
fields:
Name: plugins
Path: uncheck "Create physical directory with the same
name as virtual directory"

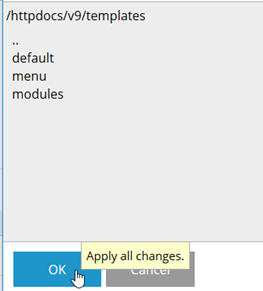
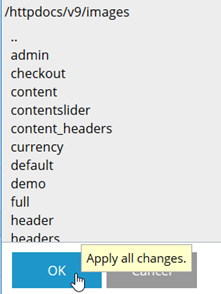
Then click the icon as shown on
above image.
Please choose the folder of your VPCart 9.0
“plugins” location.
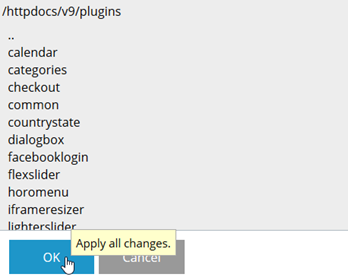
Click OK button to confirm the
folder “plugins” that you have selected.
Script source access: uncheck
Read permission: check
Write permission: uncheck
Directory browsing: uncheck
Log visits: check
Create application: uncheck
Execute permissions: Script only
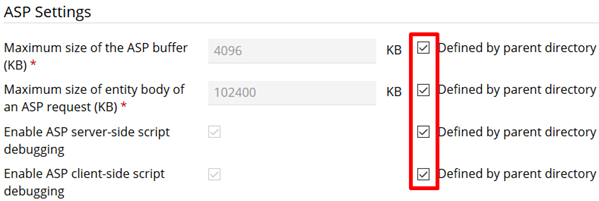
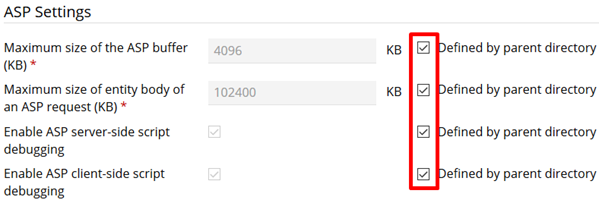
ASP Settings: All check as "Defined by parent
directory"
9)
Click OK button to create.
10) Click the content.example.com link
to go back to root folder.
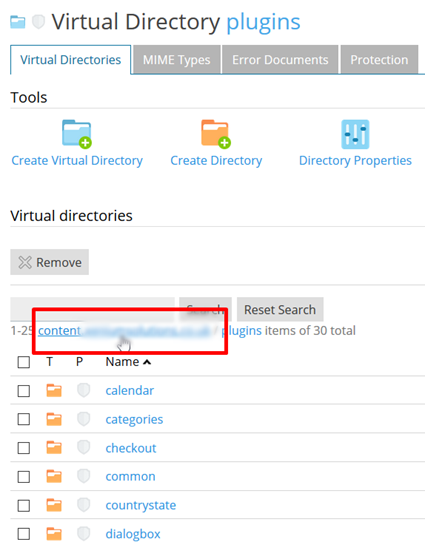
11) You will now in
content.example.com root. Click “Create Virtual Directory”.
12) Enter the following
fields:
Name: templates
Path: uncheck "Create physical directory with the same
name as virtual directory"

Then click the icon as shown on
above image.
Please choose the folder of your VPCart 9.0
“templates” location.
Click OK button to confirm the
folder “templates” that you have selected.
Script source access: uncheck
Read permission: check
Write permission: uncheck
Directory browsing: uncheck
Log visits: check
Create application: uncheck
Execute permissions: Script only
ASP Settings: All check as "Defined by parent
directory"
13)
Click OK button to create.
14) Go to the “Websites &
Domains” locate the sub domain “images” and click the “Virtual
Directories”.
15) Click “Create Virtual
Directory”.
16) Enter the following
fields:
Name: images
Path: uncheck "Create physical directory with the same
name as virtual directory"

Then click the icon as shown on
above image.
Please choose the folder of your VPCart 9.0 “images”
location.
Click
OK button to confirm the folder “images” that you have
selected.
Script source access: uncheck
Read permission: check
Write permission: uncheck
Directory browsing: uncheck
Log visits: check
Create application: uncheck
Execute permissions: Script only
ASP Settings: All check as "Defined by parent
directory"
17)
Click OK button to create.
Now that you have setup the sub
domain(s) and also the virtual directories, the next step will be to go to your
VPCart configuration admin to setup the CDN.
18) Log into your VPCart
9.00 administration.
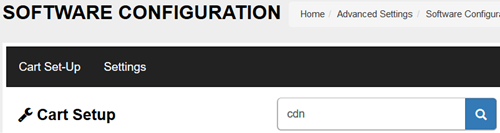
19) Go to Advanced Settings > Software
Configuration
20) On Search text box, please enter cdn, then click Search
icon
21) Update below configuration settings:
|
xcdn_images |
Enter the subdomain images URL that you pointed
to site images for CDN e.g. http://images.example.com/
NOTE:
You need to fill in https if your subdomain is using SSL Certification
e.g. https://images.example.com/
|
|
xcdn_plugins |
The subdomain content URL that you pointed to
site content/plugins (JS, CSS, templates) for CDN. e.g.
http://content.example.com/
NOTE: You need to fill in https
if your subdomain is using SSL Certification e.g. https://
content.example.com/
|
After the setup above, you can go to your VPCart 9.0 front
store to refresh and you should see the speed will improve.
You can use a
3rd party speed testing tool website such as https://tools.pingdom.com to test your
current site speed and you should get a grade A.