As a registrant, your customers can:
•Create a new gift registry
•Add products to the registry
•Update address details for existing gift registry
•View products in the current registry including those already purchased
•Add additional products to an existing registry
•Delete products from the gift registry
The registrant and the merchant both receive emails when a new registry is created.
From the gift registry menu (shopgiftregadmin.asp), accessed from the customer service menu, the registrant selects “Create New Gift Registry”.

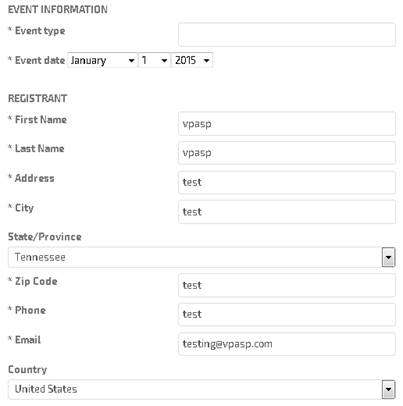
This brings them to the first form, where they enter the details about the registry, such as their name and address details, a co-registrant’s details and, if required, a separate delivery address. Only the Event and Registrant details are required – the co-registrant and shipping need only be added if required.
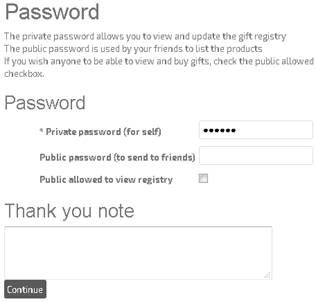
The second page of the registration is the creation of passwords. Two passwords are required - the first password is for the registrant to view and edit the registry, the second is for potential buyers.
The "Thank You" box is used to send thank you messages to buyers if they purchase from the gift registry.
Once the passwords have been set up, the registrant is presented with a printable confirmation screen.
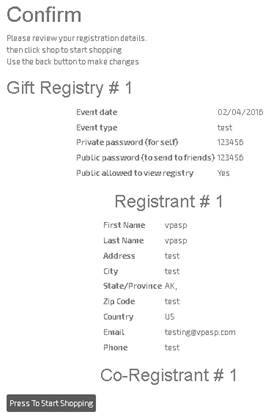
At this time, no items have been added to the registry.The customer now needs to go through your shop and add their desired items to their shopping cart.
When they have added all of their items to their cart, and are ready to create the registry, they use the standard checkout process.
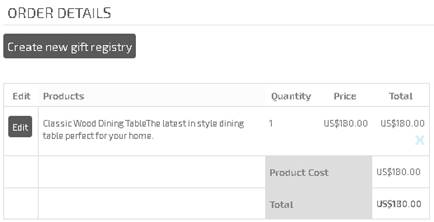
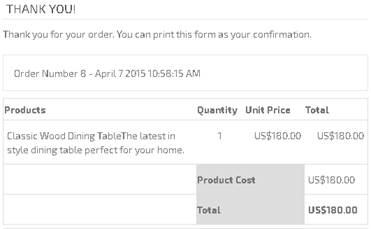
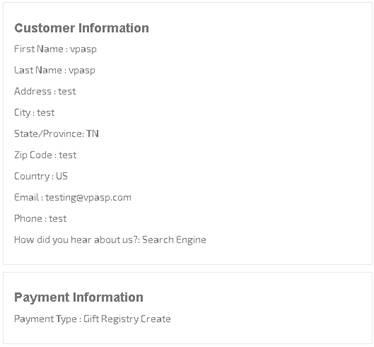
On the order confirmation page, instead of being directed to the checkout page, the Create New Gift Registry button adds their items to the database, sends a confirmation email to the registrant and presents them with a summary of their registry.
